Hello and welcome! I have a
Sizzix tutorial to share with you today, showing you how you can easily alter patterned paper with dies and Inksheets.
When I saw
Tim Holtz new
Mini Clipboard, I thought it would be great as a home decor element where I can alternate between different panels. I use the
Flip Frame like that too, the Clipboard is a little larger (4.5 x 7.75 in) so you can fit more on a panel. This childhood photo of me was on my desk and I thought it worked well together with the wonderful sentiment stamp. I can still clearly remember how fun it was to ride in that tire.
Sizzix Inksheets turn your wafer thin dies and embossing folders into stamps and come in various colours. For more inspiration, check out my
Paper Leather and Inksheets canvas from last week, and there you will also find even more links.
Start by removing the clasp from the Clipboard.
Paint with gesso.
I missed taking photos of a few steps here, because I was so caught up in the project. Paint the board with Antique Linen, Pumice Stone and Walnut Stain. When dry, stamp randomly with an alphabet background stamp, or another background stamp. Apply
Crazing Medium with your finger, varying the thickness. When the medium is dry, apply Distress Crayons on top, and with a slightly moist cloth, wipe off most of the crayons, leaving colours in the cracks. Dry brush a little black paint around the edges.
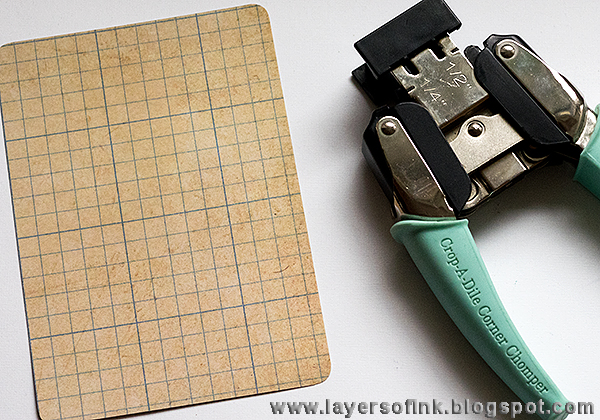
Cut a piece of patterned paper (11 x 16 cm, 4.3 x 6.3 in) and round the corners. The paper I used come from Tim's new
Dapper paper stash.
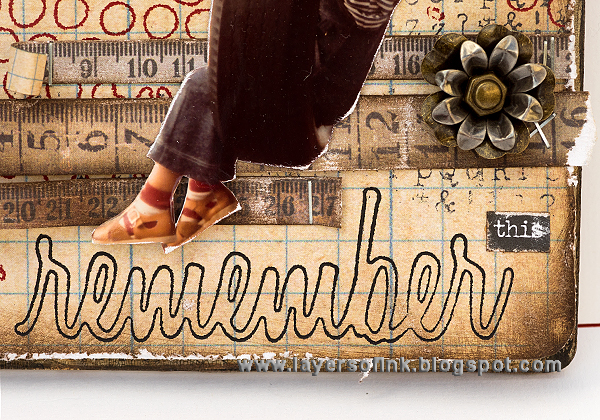
I started by adding a word with a die from the
Friendship Words Script set and a black Inksheet. I love the way these words look as stamps. For more inspiration, check out my
Inksheet Resist journal page. Use this sandwich: Extended Multipurpose Platform tab 2, Inksheets Transfer Pad, paper, Inksheet with the matte side down, die facing down, Cutting Pad.
Next, I added a star from the
Festive Scribbles set, and very cool red dots using one of the
Mixed Media dies. Apart from white and black, the red Inksheets are my favourites. I used it together with kraft paper on this
Valentine's tag.
Stamp the with a background stamp. I know I am extra obsessed with this
favourite alphabet stamp at the moment. It is by far my most used stamp.
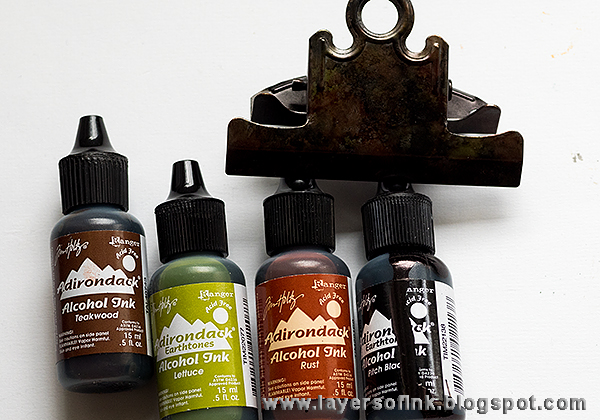
The clip itself was altered with alcohol inks.
Screw it back in place. You can now easily hang the clipboard up, and change panels. I like something that is easy to hang up, since I sometimes forget to attach hanging mechanisms to my projects.
Stamp the
sentiment before adding detail with the Inksheets, so that you don't make the paper too busy where the sentiment is.
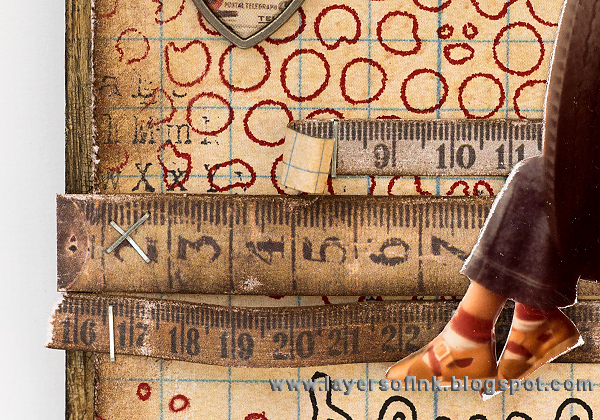
The rope on the photo was a little too short, so I cut it off and used a piece of twine instead. Sand the sentiment slightly and ink the edges.
The rulers also come from the Dapper stash and were sanded and inked.
You can use any word that fits with your project. If you want to, you could also colour the word, as you would with a stamped image.
I also used a
Shield Charm with a good word, and I like that little red bird too.
The
flower pieces were bent with a pair of pliers and I placed a
Hex Fastener in the center.
Because of the clip, it is very easy to change panels. You could have a whole stack and alternate between them.
Make the
clipboard fairly neutral, so that it will fit with differently coloured panels.
The
Crazing medium add such awesome fine cracks. For another example, check out my
Distress Crayon Canvas. I'll be using this a lot, I think.
Thank you so much for visiting my blog today!
Happy crafting!
Anna-Karin
Supplies: